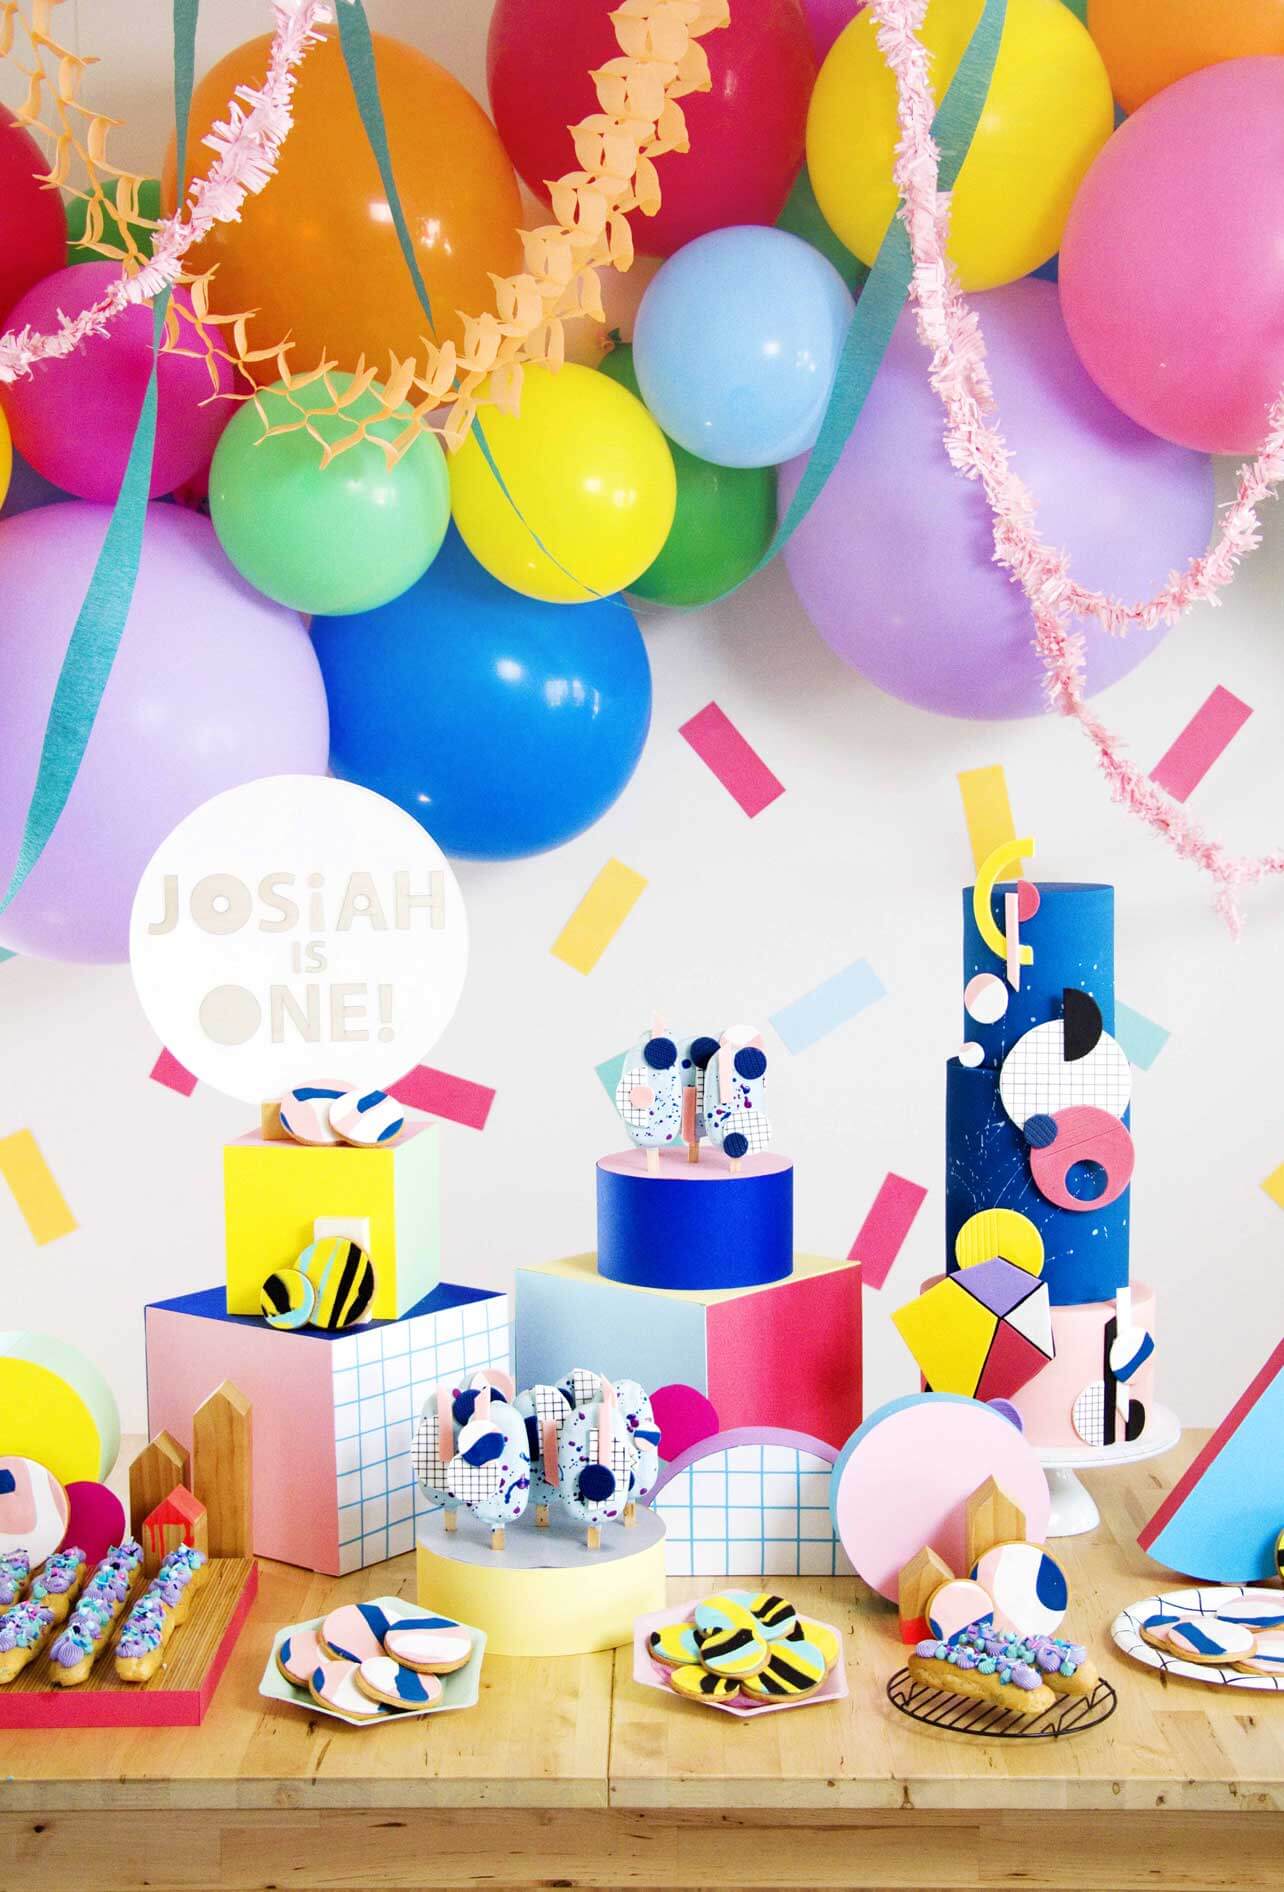
It’s true what they say.. when you have a child, its a series of long days and short years. How on earth is my little ittie baby already ONE?
For years as a cake decorator I’ve been so immersed in creating lovely things for others… The truth is, I’ve never actually made or done something special for myself. Don’t get me wrong, I loved to do it (and it’s mostly cos I get a bit funny about throwing myself a party). Sooooo… after years of making birthday cakes and farewelling them to other’s homes & parties, I FINALLY had a chance to make a birthday spread for my own baby boy’s First Birthday!
Having worked on countless dessert buffets for major events & parties, and was so looking forward to creating something special to celebrate surviving the first year as new parents! (cause really, in reality a baby’s first birthday is more or less a big celebratory pat on the back for mum & dad). We did it!
The 3 things I had in mind when styling this party were: Modern, Happy, Fresh
I worked towards creating a Contemporary-styled event (cause if you know me, I’m reeaaally into modern cakes & sweets) yet keeping a recognisable “kid” element. I drew inspiration from the incredible artwork of Beci Orphin and transformed our home into a fantasy URBAN|ART technicolour dream party.
So here is this Blog, I’ll be walking you through every element of the party and showing you how to create a modern, unique baby/kid themed party with minimal stress and without breaking the bank.
Ideas on How to Style A Modern Urban Art Theme Baby/Kid Party
The Decor
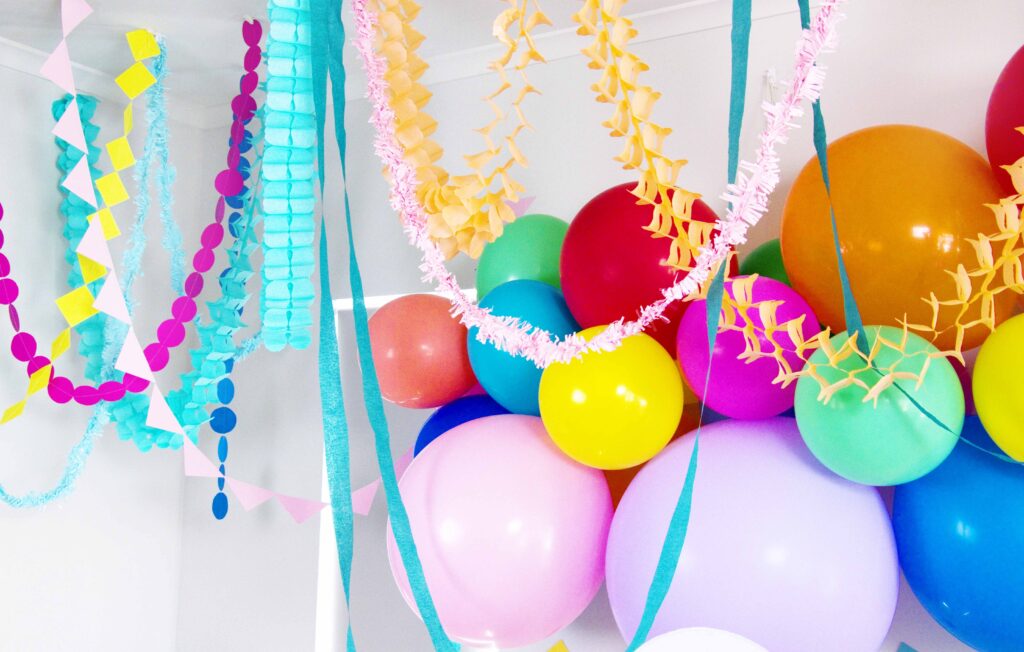
I knew from the get-go I wanted to create an immersive colour experience for the event. I had long fantasised of having a stunning balloon garland as a focal point behind the main dessert table, so you can only imagine how overjoyed I was to find the perfect DIY Balloon Garland Kit from Ruby Rabbit Partyware. Despite how impressive and intricate it looked, we were surprised to discover that it was rather easy to blow up and put together – proving to be the perfect job for my hubby Henry to complete whilst I ran fussing with my cookies & such. My sweet sister helped cut out strips of coloured card to make “sprinkles” for the walls to make our home look like one ginourmous cake! (cause who doesn’t fantasize about living in a house of cake?!). With a scrapbooking paper cutter/guillotine, it was a snappy job to do; and we stuck sprinkly goodness all over the walls with a small touch o’ white tack.
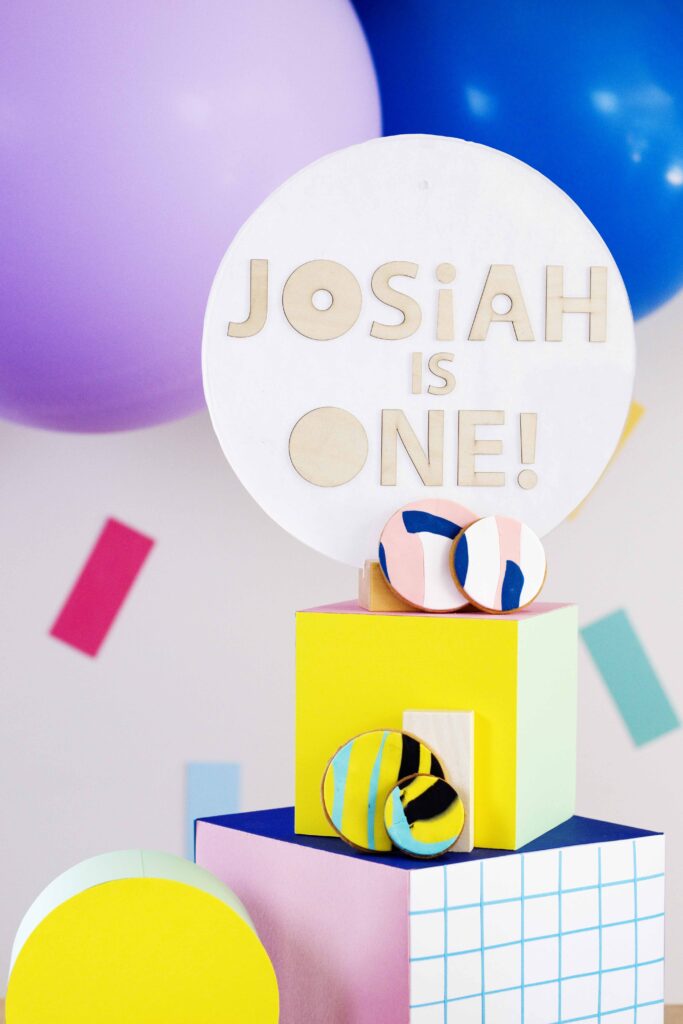
The streamers were mostly sourced from Ruby Rabbit but I wanted to add some element of geometry to the bundle to reinforce the theme. So I went about making a few paper streamers from cut pieces of cardboard (circles, squares, triangles) sewn together with a simple running stitch using a sewing machine. Floaty shapes… me like!
The Cake
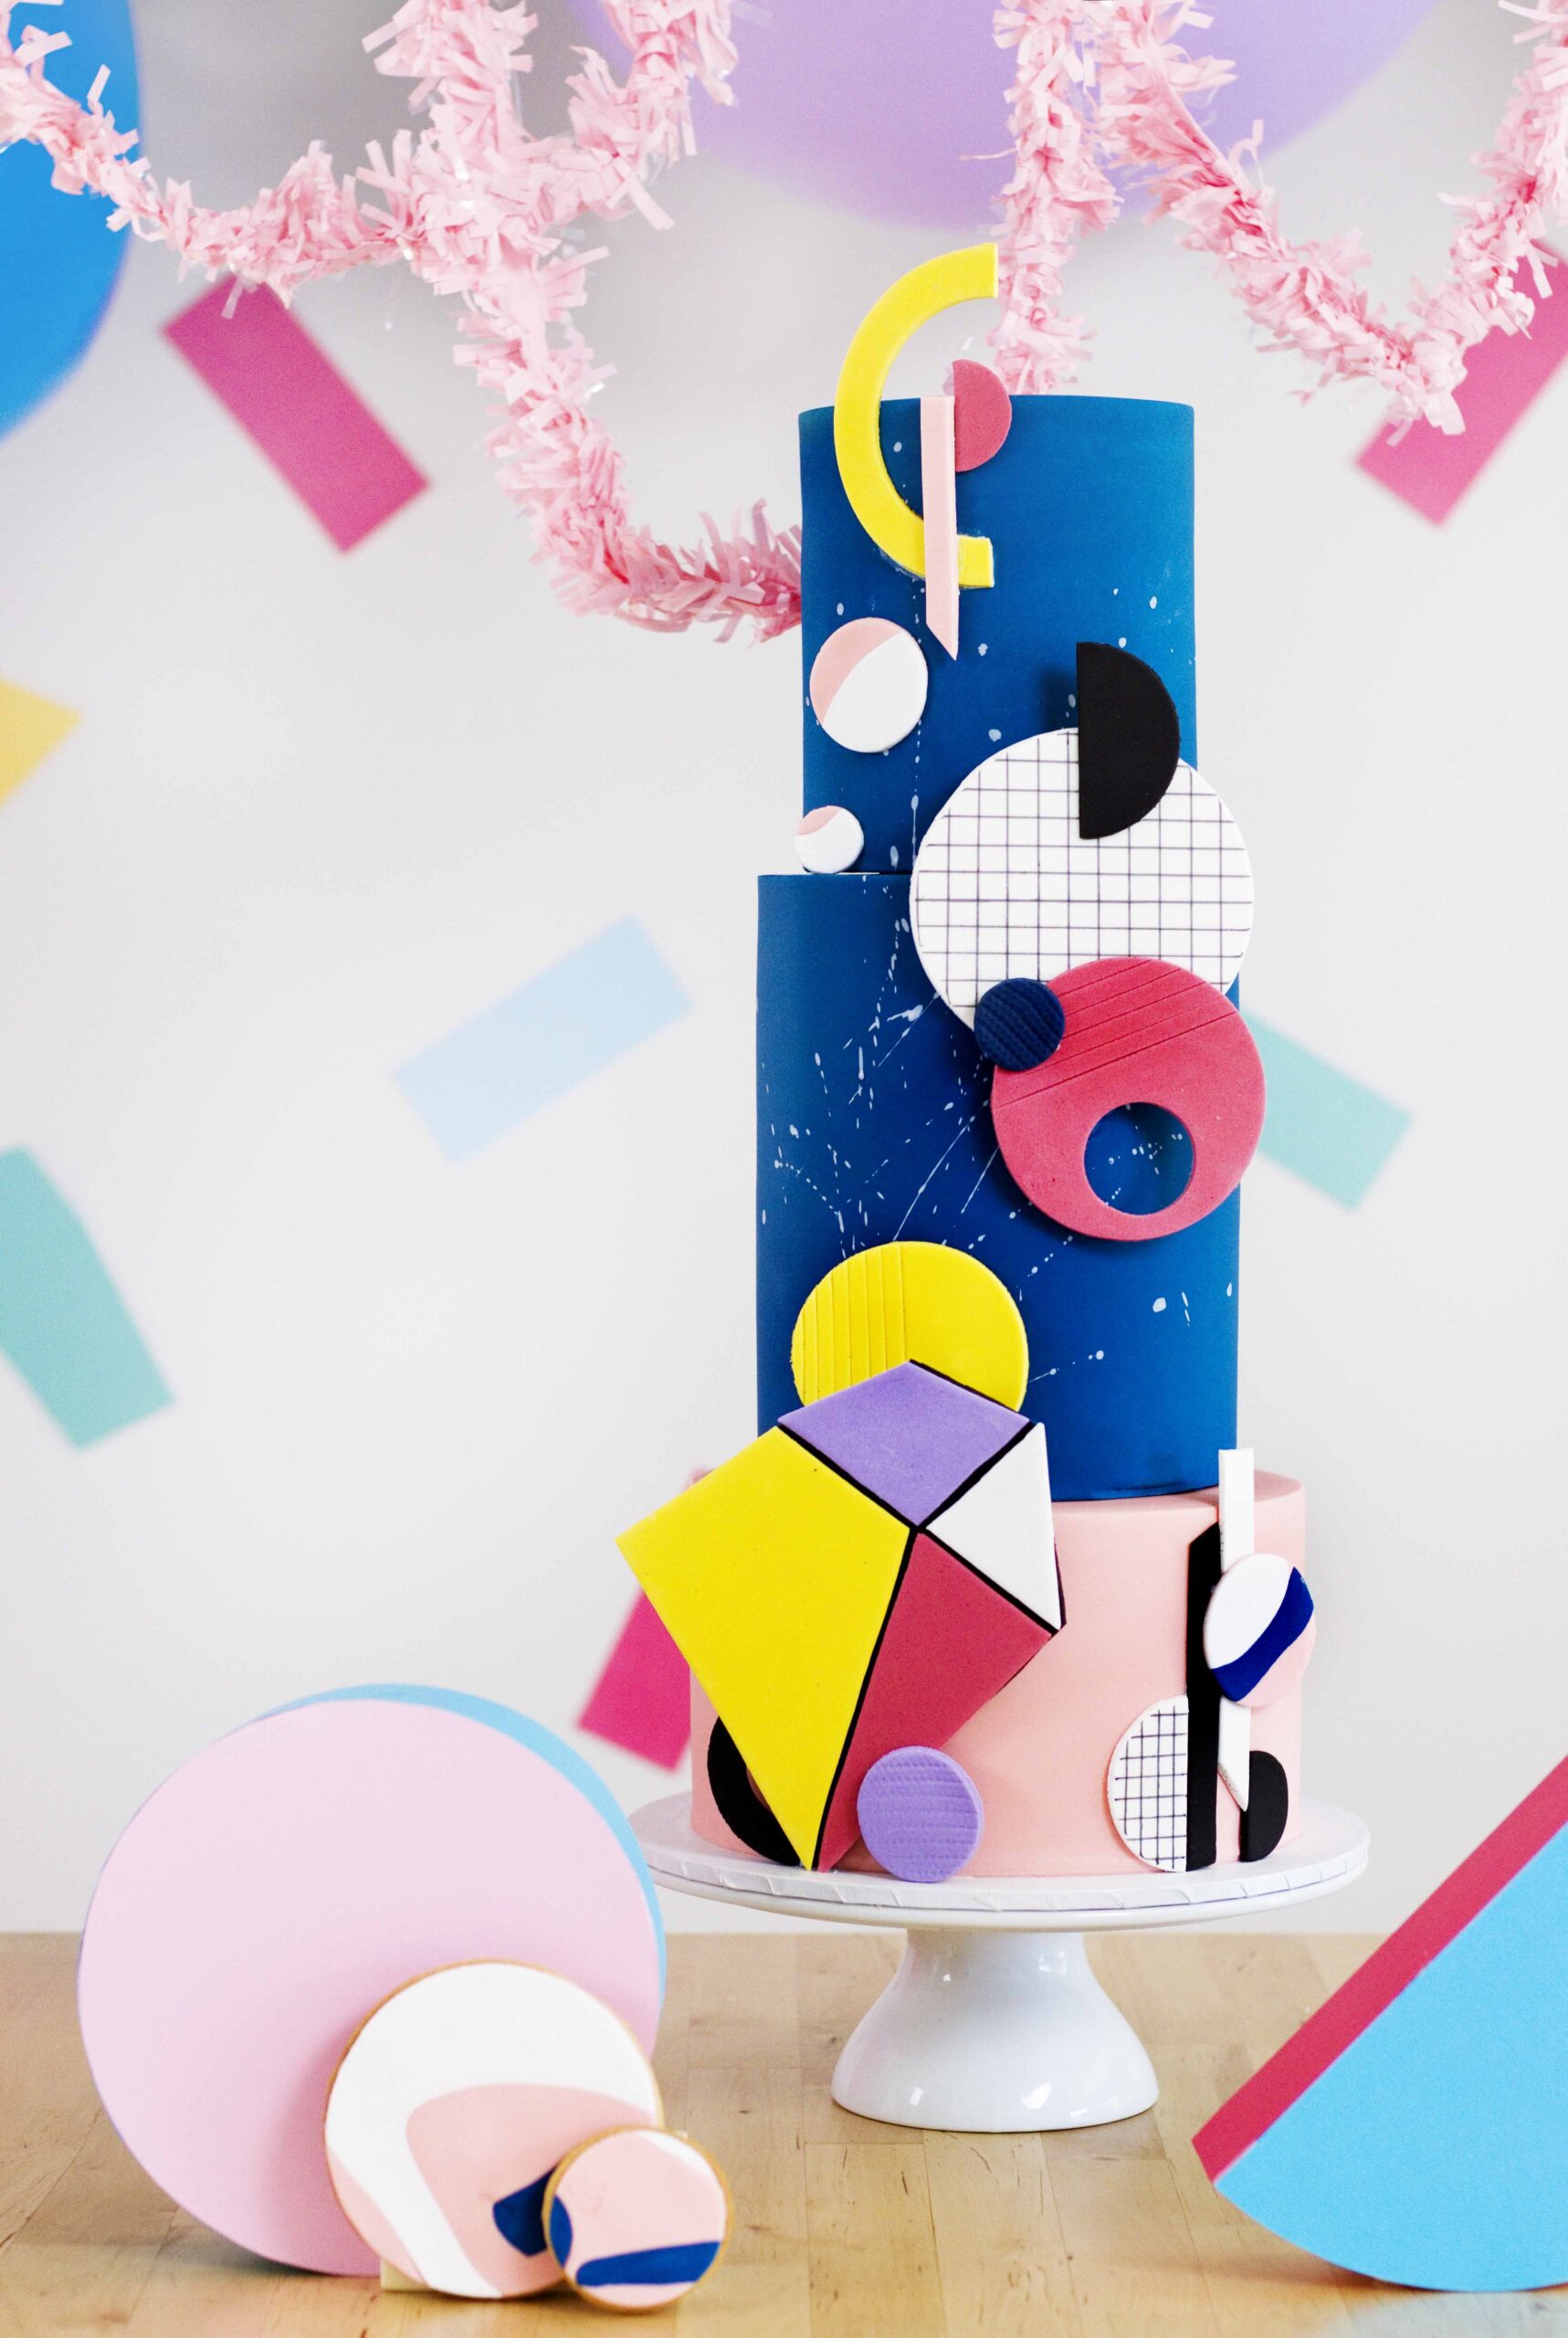
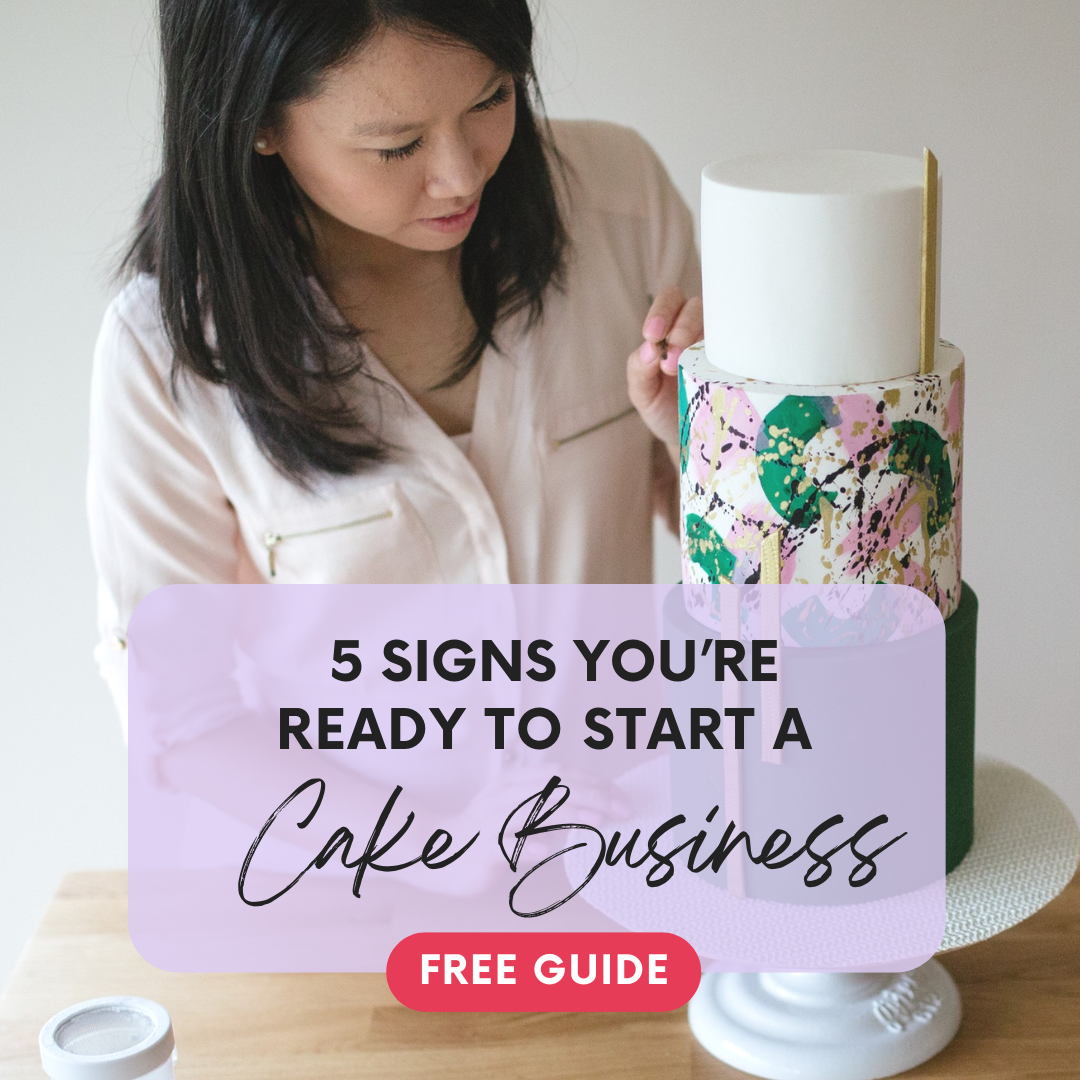
I can’t tell you what a BALL it was to make this cake. The entire cake was covered in fondant and topped with gumpaste decorations which I had made a day earlier. I painted on fun splashes in my signature graffiti style using Edible Art Paint by Sweetsticks (one of my favourite decorating mediums of ALL TIME). Elements that I wanted to include in this design were strong contrasts, bright colours, geometry, grid lines and fluid painted motions.
I drew grid lines using an edible marker and creating textured decorative pieces using a fabric texture mat.
The Dessert Table
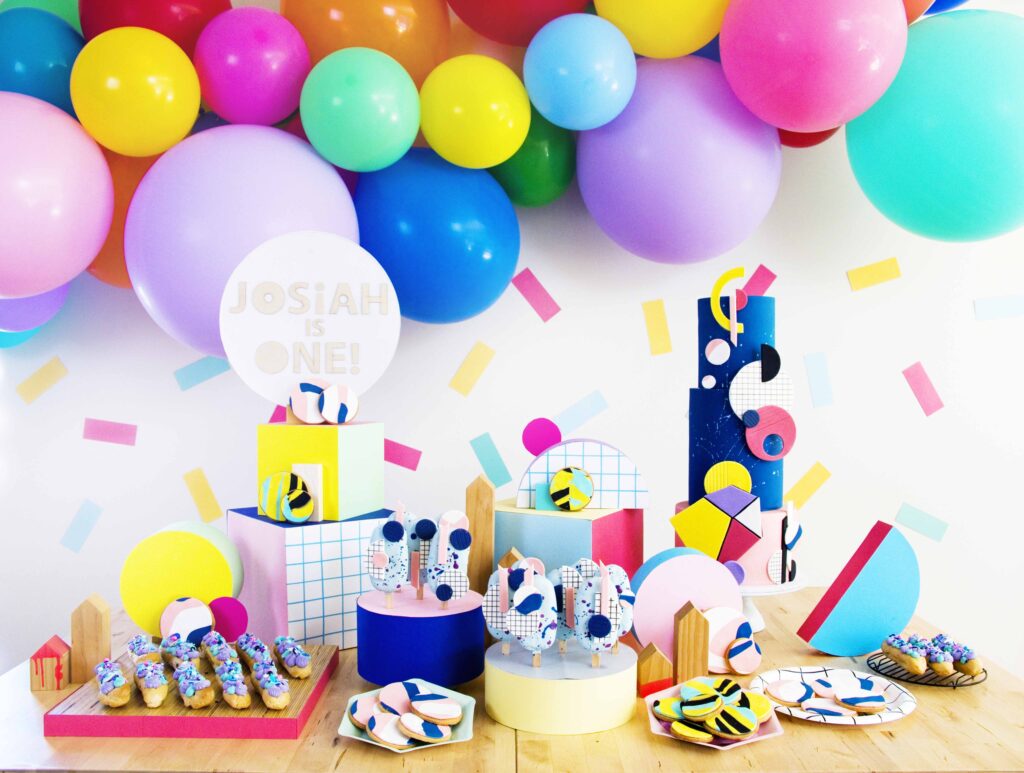
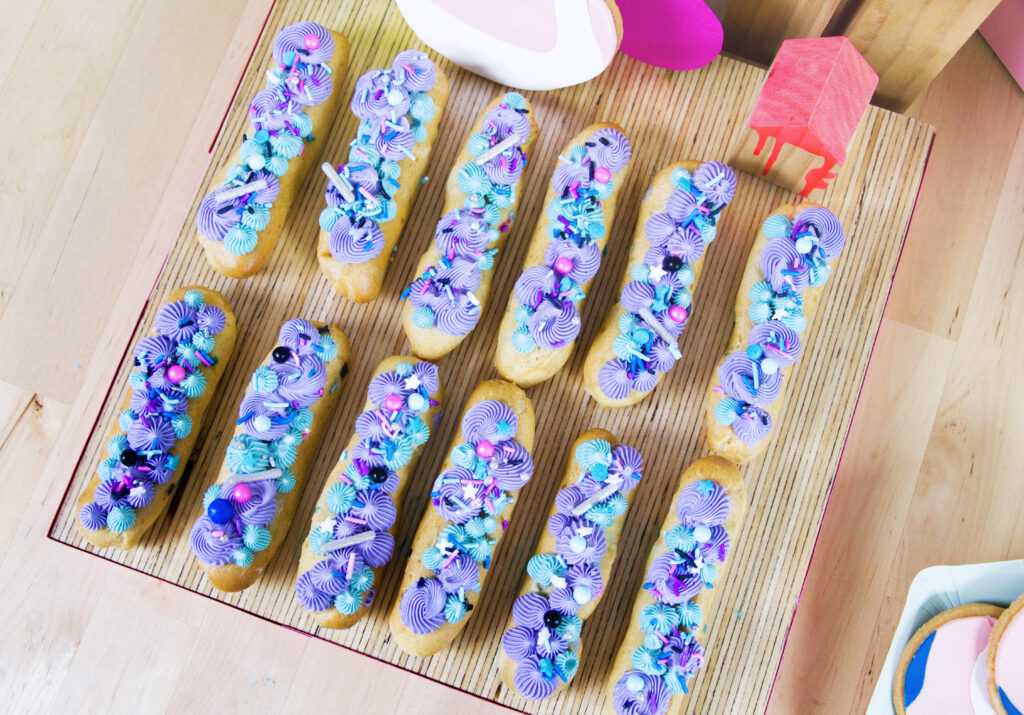
More angles, shapes & bright colours! Yeehaw.. I had envisioned a table covered with funky, coloured blocks & shapes and my craftsy interior designer sister helped me bring this to life. She covered foam dummies (cut to customised measurements) with coloured cardboard, cut to size and stuck on rather simply with glue. It formed the perfect prop setting to feature the choc flavoured cake popsicles, sugar cookies & green tea custard eclairs. Oh, and if you’re wondering where we got the cute lil’ wooden “house” blocks from, those were made (by a friend) from wooden offcuts, cut at an angle and sploshed with paint.
The Grazing Table
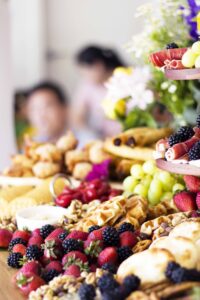
If there was one thing I knew for sure, it was that I didn’t want to be sweating in the kitchen cooking on the day of Josiah’s party. No sir-ee! I opted instead to have a grazing table of nibbles, which suited my strategically timed “afternoon tea” party to a tee. My wooden island bench was transformed into an overflowing oasis of dips, bread, cheese, crackers, fruit & nuts lushed up with a blend of foliage & florals. It ended up bring such a hit with my guests as it was a far cry from the party pies & cold sandwiches that we had all grown accustomed to at kid parties. And the prep? All that was involved was laying out my collection of platters & vintage stands, opening a mountain of food packets and spilling them on the table in a fashion that can only be described as “organised chaos” …aaand voila! A generous grazing galore sure to satisfy any peckish posse.
Fun, fresh, bright. This is one event very dear to my heart and I hope this party DIY helps spark new ideas on how you can style and jazz up your next celebration. If you’ve got a question, hit me up! And if you wana hold on to any of these party images as inspo for future reference, you can go on right ahead and pin them to your Pinterest boards 🙂
xx Amanda
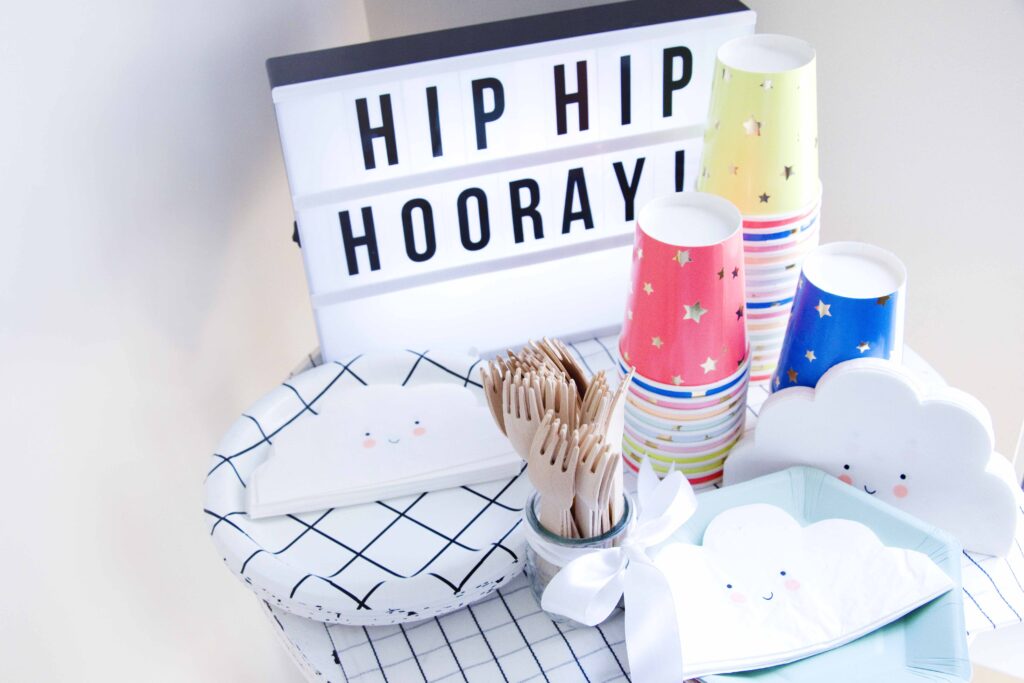
Ruby Rabbit Partyware: https://www.rubyrabbit.com.au/

3 Responses
You can feel the love throughout every finely crafted element of this super stylish party! Happy birthday Josiah!!!
Thank yous so much Lyndsay <3 was so wonderful to craft it for my baby boy 🙂 glad you like it all xx
Hi there! The photos all have question marks and are not loading properly. I found this through Pinterest and I would love to throw a party inspired by it. Could you possibly try to upload the photos again? THANK YOU!